How to Draw a Cartoon Rabbit
There are many animals that are known specifically for being cute and adorable.
Certain animals are especially well known for this feature, and rabbits would almost certainly take the top spots in most people's cutest animals lists!
These cute little guys come in all shapes, sizes, colors and appearances, and we are here to learn how to draw a cartoon rabbit.
This is the guide for you if you want to know how you can easily draw a super cute representation of a rabbit while having a lot of fun!
So prepare to create your very own adorable pal as we begin this step-by-step guide on how to draw a cartoon rabbit in just 6 fun and easy steps!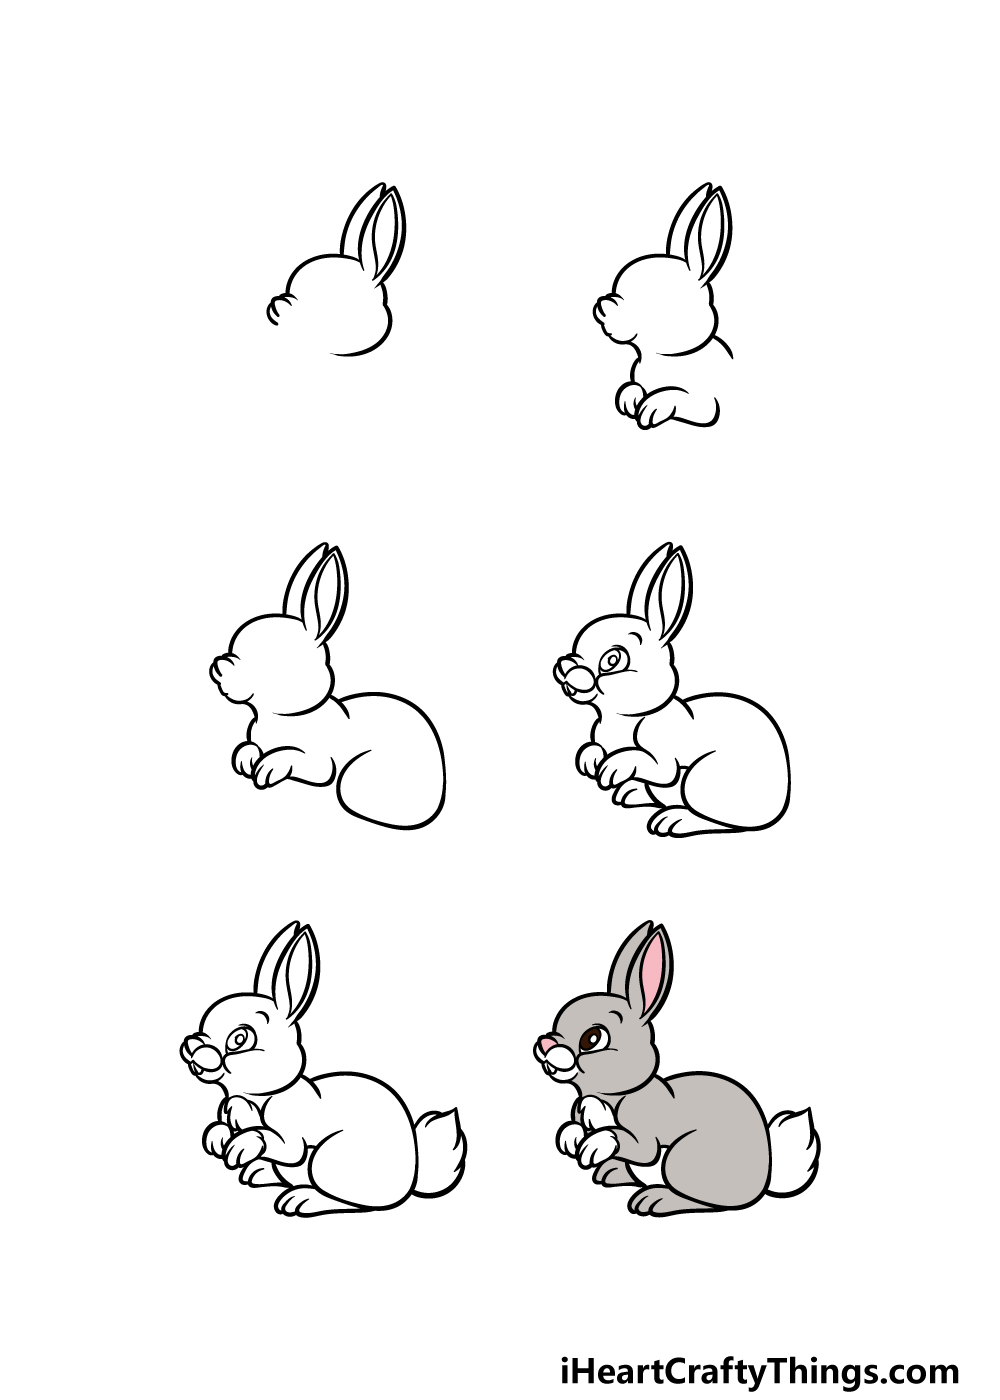
What's in this Blog Post
- How to Draw A Cartoon Rabbit – Let's Get Started!
- Step 1
- Step 2 – Now, draw the legs and body
- Step 3 – Next, draw the back and back leg
- Step 4 – Now, draw the rest of the legs and add facial details
- Step 5 – Add the final details to your drawing
- Step 6 – Finish off your drawing with color
- Your Cartoon Rabbit Drawing is Complete!
How to Draw A Cartoon Rabbit – Let's Get Started!
Step 1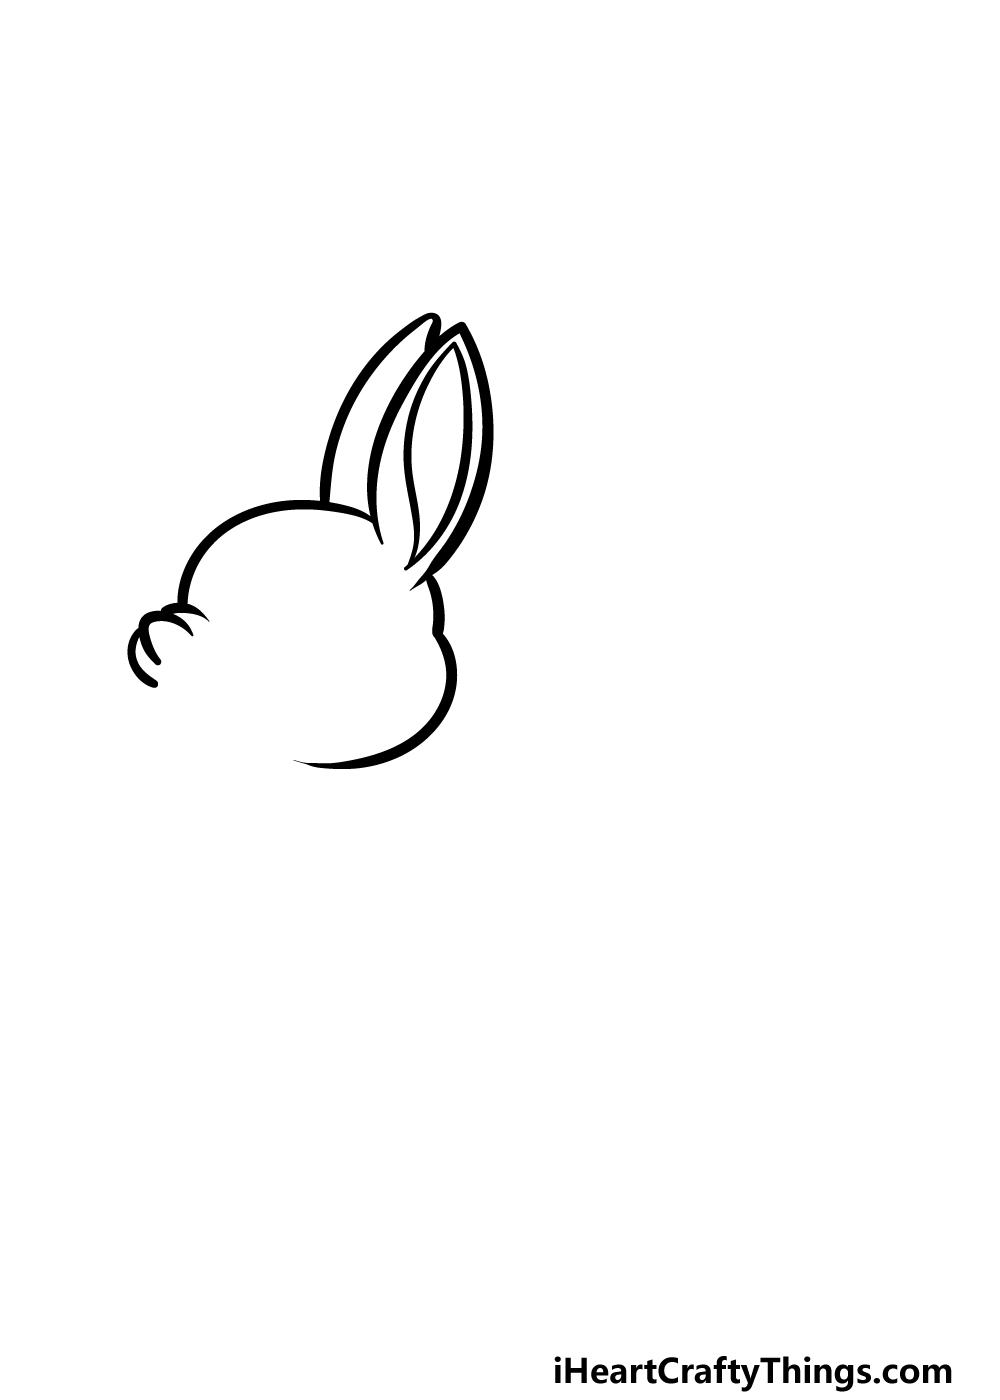
Perhaps the most recognizable aspect of a rabbit is its long ears, and we will begin this cartoon rabbit drawing with these ears along with the head outline.
The ears will be drawn using some curved lines that have pointy tips on top. The ear closest to us will also have an inner ear section drawn within the outline of the ear.
For the head, we will use some curved lines for the top and the back of the head. Then, at the front, we will begin drawing the small snout and nose using some smaller curved lines.
That's all there is to it, and then we can move on to the next step!
Step 2 – Now, draw the legs and body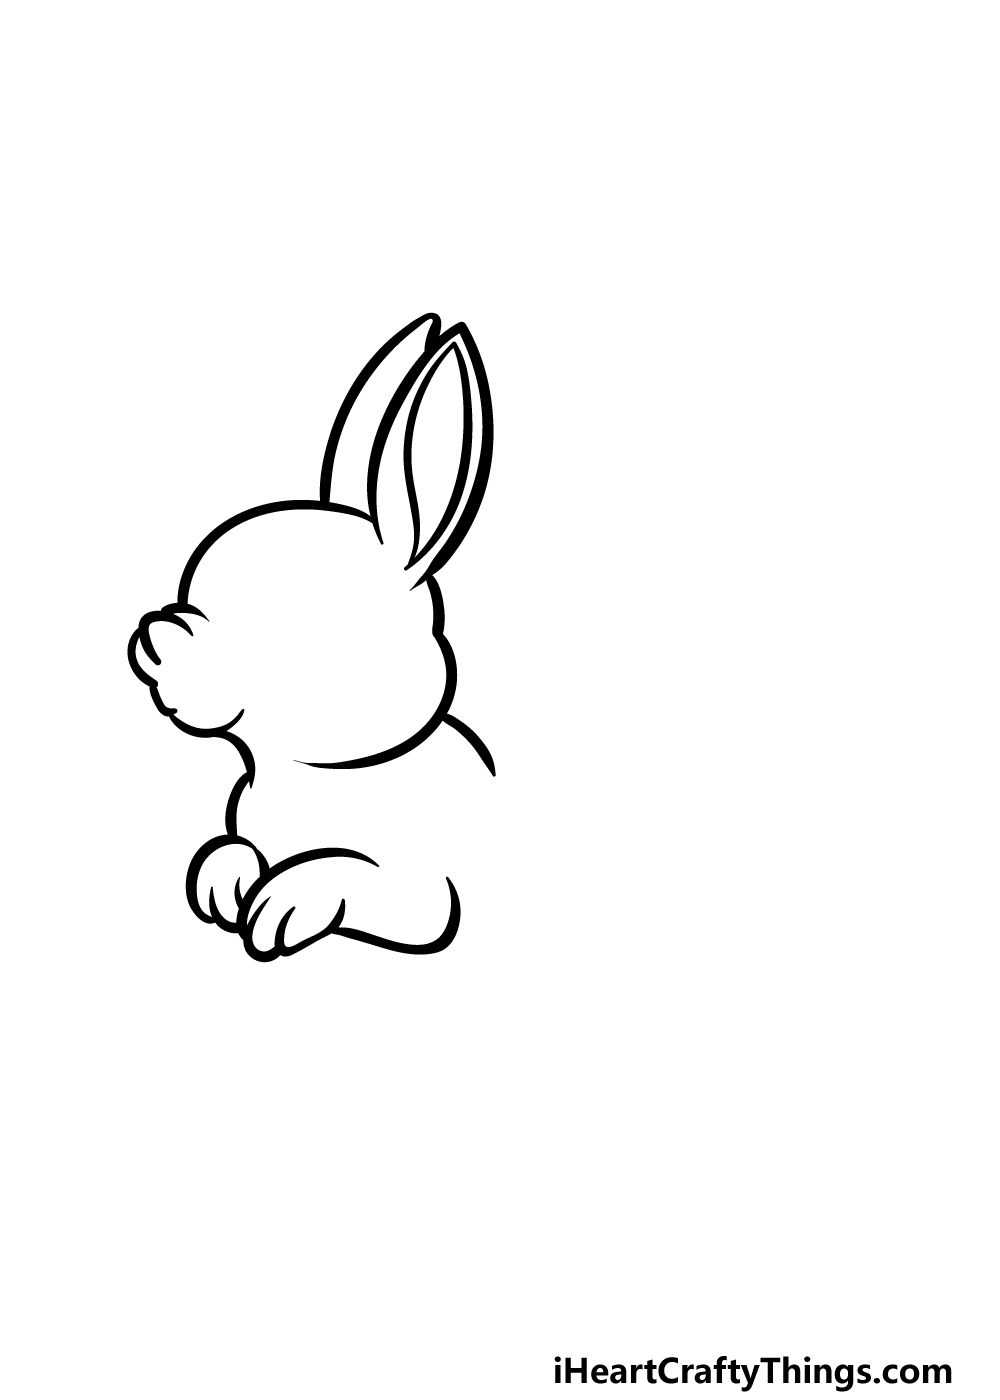
We will be drawing the little legs, paws and some of the body in this step of our guide on how to draw a cartoon rabbit.
The positioning of the legs will contribute greatly to producing the cute pose we will have this rabbit in!
First, draw some smaller curved lines for the top of the rabbit's body. Then, we will draw the little leg. This will be quite small and curved, and it ends in a small paw that has three curved toes.
Then, we will draw a small, rounded shape with three curved toes connected to the foot that you just drew on the leg.
We can then move on to step 3!
Step 3 – Next, draw the back and back leg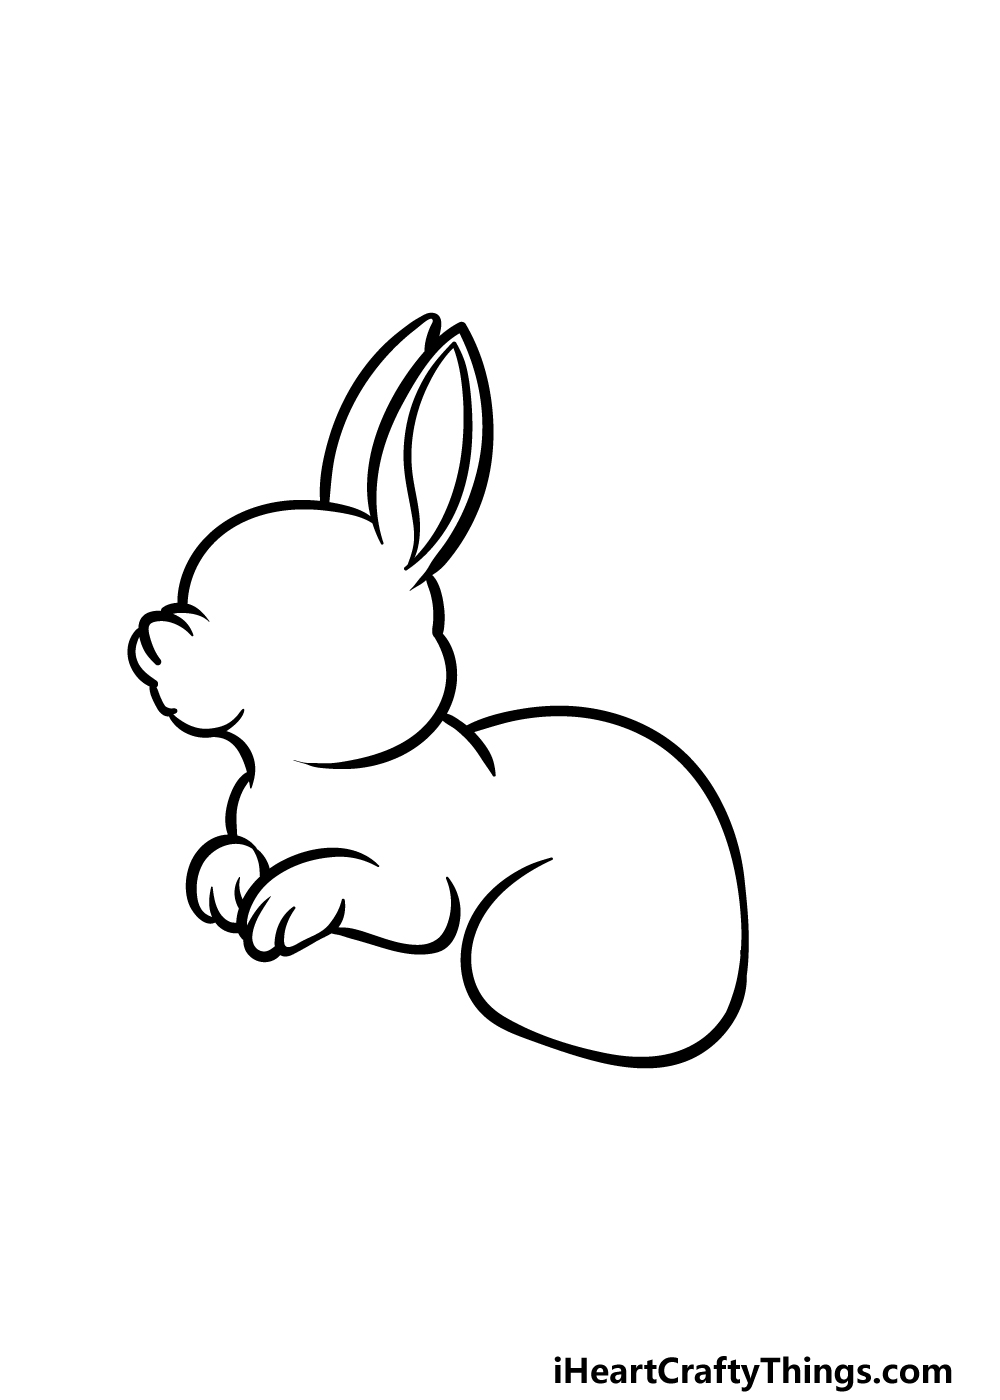
For step 3, we will be drawing the back of the rabbit along with the first back leg. The rabbit is hunched over, sitting on its back legs with its front ones raised up.
The back of the rabbit is quite large and sharply curved. It extends straight into the top portion of the back leg, and this section of the back leg will also be quite large and rounded.
We will add the rest of the leg in the next few steps!
Step 4 – Now, draw the rest of the legs and add facial details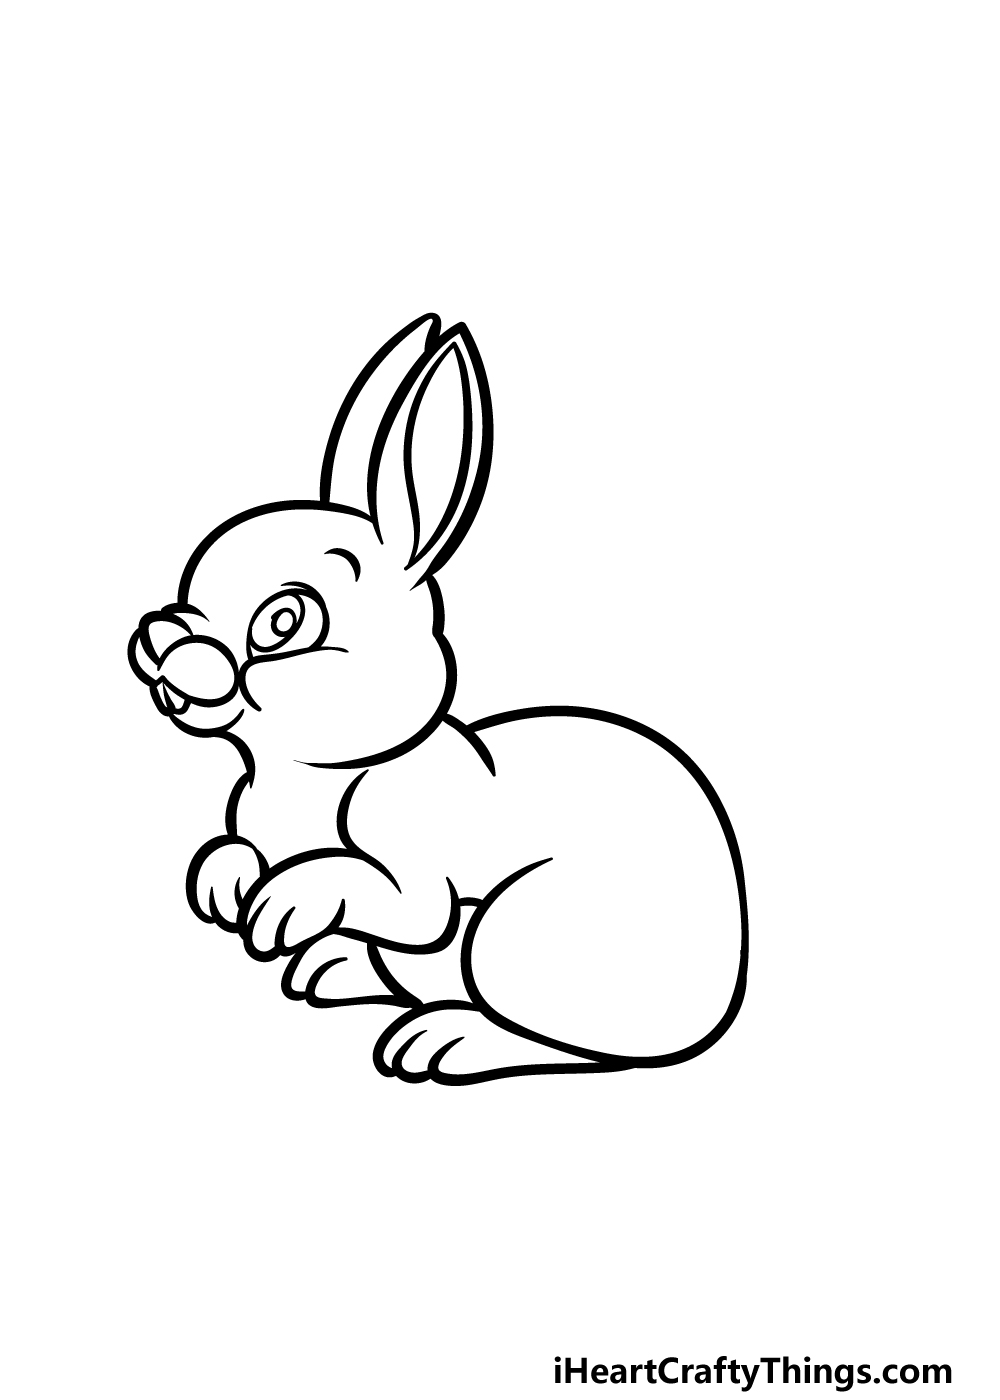
We will finish off the majority of the outline for this cartoon rabbit drawing in this step. First, add some feet beneath the back legs.
These feet will be longer and flatter, but they will also have some rounded toes at the ends.
Once the feet are drawn, we will then add some facial details. First, draw an eye using a simple oval shape, and then this will have a curved line beneath it.
This eye will also have a smaller oval inside of it with another smaller circle inside that for the pupil.
Finish off by drawing a rounded cheek with some teeth poking out, and then we can finish off the final touches in the next step!
Step 5 – Add the final details to your drawing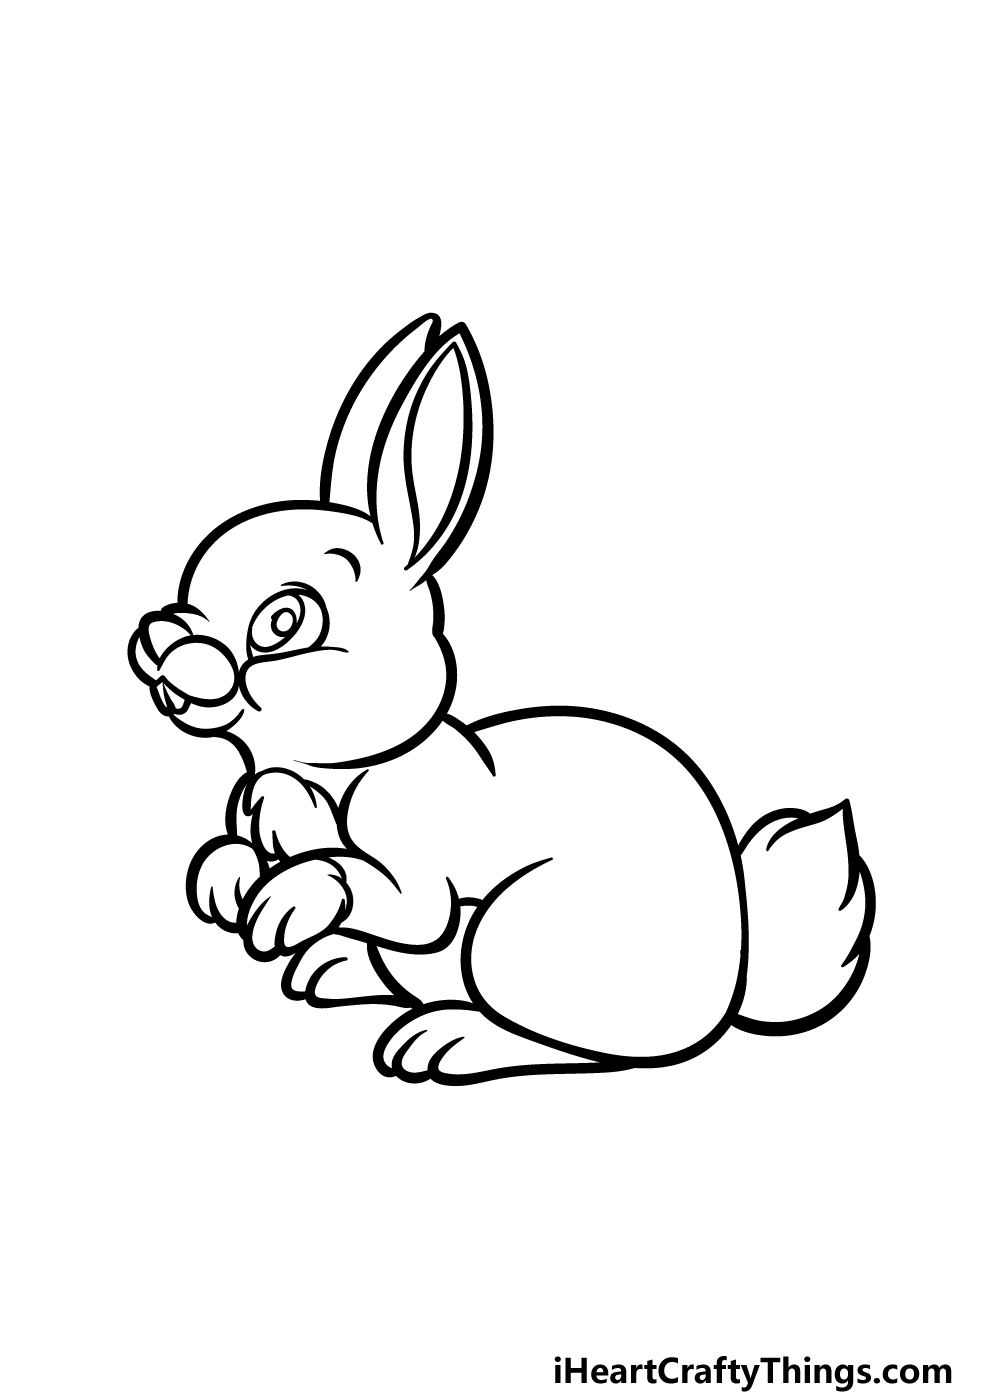
It wouldn't be much of a rabbit without the characteristic fluffy tail, so we shall add that along with any final details in this step of our guide on how to draw a cartoon rabbit!
Let's start with that tail. It will go at the back of the rabbit, and it will be drawn using some curved lines that culminate in some pointy tips.
We will add a similar fluffy patch onto the chest of the rabbit. Once these elements have been added, we can color your creation in the final step!
Before you do, you can also add some extra details of your own. There are so many great background details or extra additions you could go for, and you can really show off your creativity.
How will you complete this drawing?
Step 6 – Finish off your drawing with color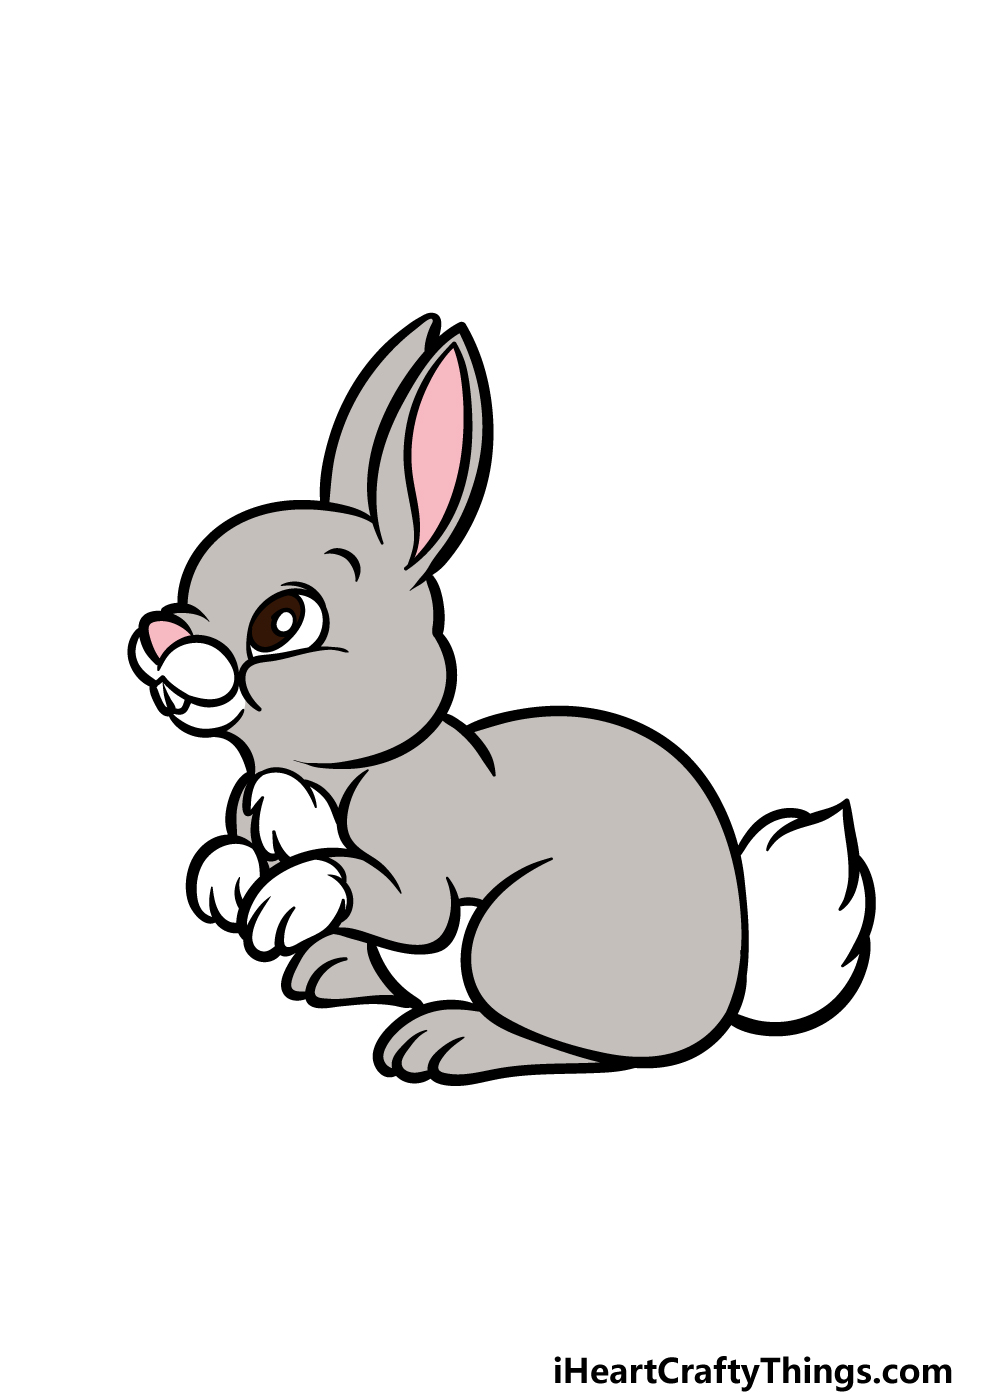
Now it's time to finish off this cartoon rabbit with some amazing colors! In our reference image, we chose to go for some greys and white for the fur.
Then, we used some nice pinks for the nose and inner ear to finish it off. That's what we chose, but now you can show off what you think this rabbit should look like!
There are so many colors you could go for, and it's a great opportunity to express your creativity as you choose your colors.
You could keep the colors more realistic, or you could add some lovely bright, stylistic colors.
What will you choose for this adorable rabbit? We can't wait to see what colors, art tools and techniques you use for this little guy!
Your Cartoon Rabbit Drawing is Complete!
This little creature that we depicted in this guide on how to draw a cartoon rabbit is undeniably adorable!
It's also quite detailed even though it is drawn in a cartoon style, so we hope that this guide made recreating this cute little rodent to be a fun and easy experience.
But you don't need to stop here! You can keep the fun going as you add your own extra details and elements to finish it off.
We spoke about changing the colors and details as well as adding a background as a few ideas, but now you can show off what kinds of ideas you have for it!
Then, you'll want to hop on over to our website where we have many more awesome drawing guides and other activities for you to enjoy!
These are all free to enjoy, and you can also share them with friends and family.
Speaking of sharing, you can share your finished cartoon rabbit drawing on our Facebook and Pinterest pages for us to see and enjoy!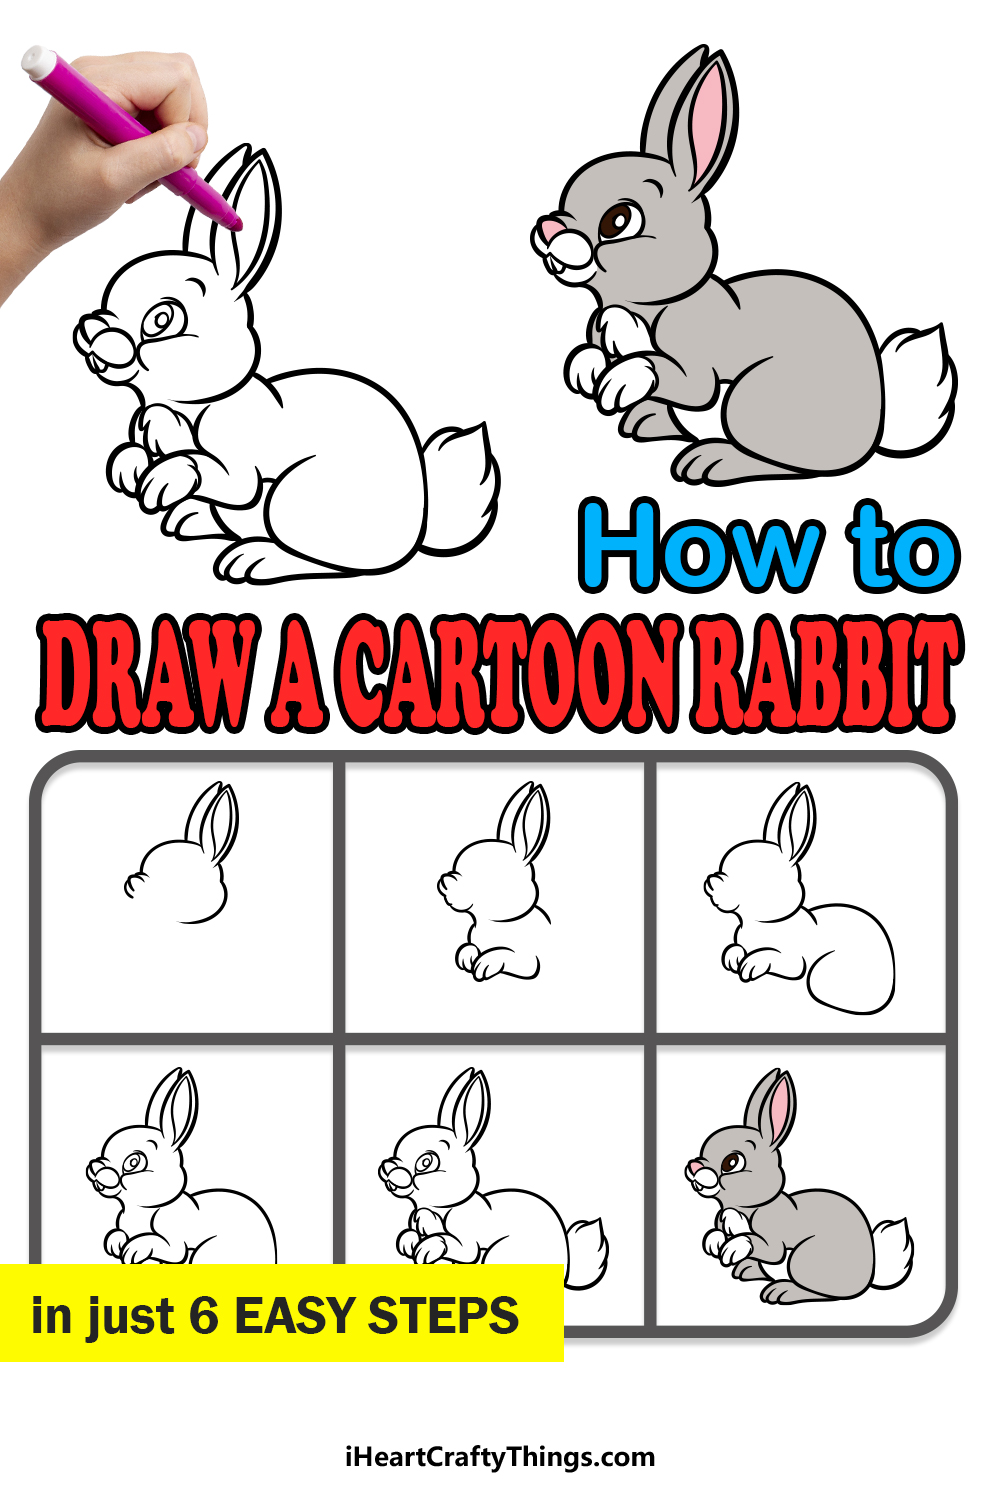
cunninghamobtainted.blogspot.com
Source: https://iheartcraftythings.com/cartoon-rabbit-drawing.html
0 Response to "How to Draw a Cartoon Rabbit"
Post a Comment